Because I was down with an intestinal bug last week I will have to combine the 2 week of this project together.
In our first week, I showed how I make my sanded paper using Golden's Absorbent Ground on 1/4" form core poster board with mounted Bristol paper.
This ground is similar to their Ground for Pastel but it is a bit finer and is use to turn un-absorbent surfaces like canvases or paper that will fall apart like the Bristol paper into a surface that you can use watercolor on. I am using it so I can use use my watercolor or an alcohol wash on the Bristol paper. Like the Pastel Ground, it has an acrylic base so it seals the paper so it won't fall apart or warp when liquids are applied.
The first week after I gave the demo on how to mount the paper to the board, I talked about sketching and drawing. In pastel it is really hard to get away from either of those but they still can be a bit daunting for some but both are very important if you want to improve your painting skills.
Sketching allows you to figure out how you are going to paint your subject. It doesn't need to be anything more than a few lines or shapes on a sketch pad but it allows you to play with the elements to see how best to approach your subject. Whether you are working from a photo or working plein air, the sketch lets you get down on paper a plan, a visualization of what you want to accomplish with you painting.

Do you want it to be vertical? Or does horizontal work better? How but some to the misc. stuff that is scattered around do you really want to paint all that? Sketching lets you play with your design without having to make a commitment to it. It is also a great place to see how your light and dark values work. Don't underestimate the power of the sketch.
After talking about sketching and drawing, my prepared board was dry enough to get started, unfortunately, I had left my watercolor at home BUT, all was not lost, I decided that I wanted to tone my paper with an overall color of a yellow ocher and that I could do with my pastel and a little alcohol.
First I went over all of my paper with a light yellow ocher soft pastel. I want the final painting to have an overall warm, morning desert look to it and having a warm under color over all of my paper should help reach that look. Next I took a bristle brush I have in my equipment and some
rubbing alcohol you get at the drug store, and went over the entire paper. This will set the color so it won't lift off when I do apply the watercolor.
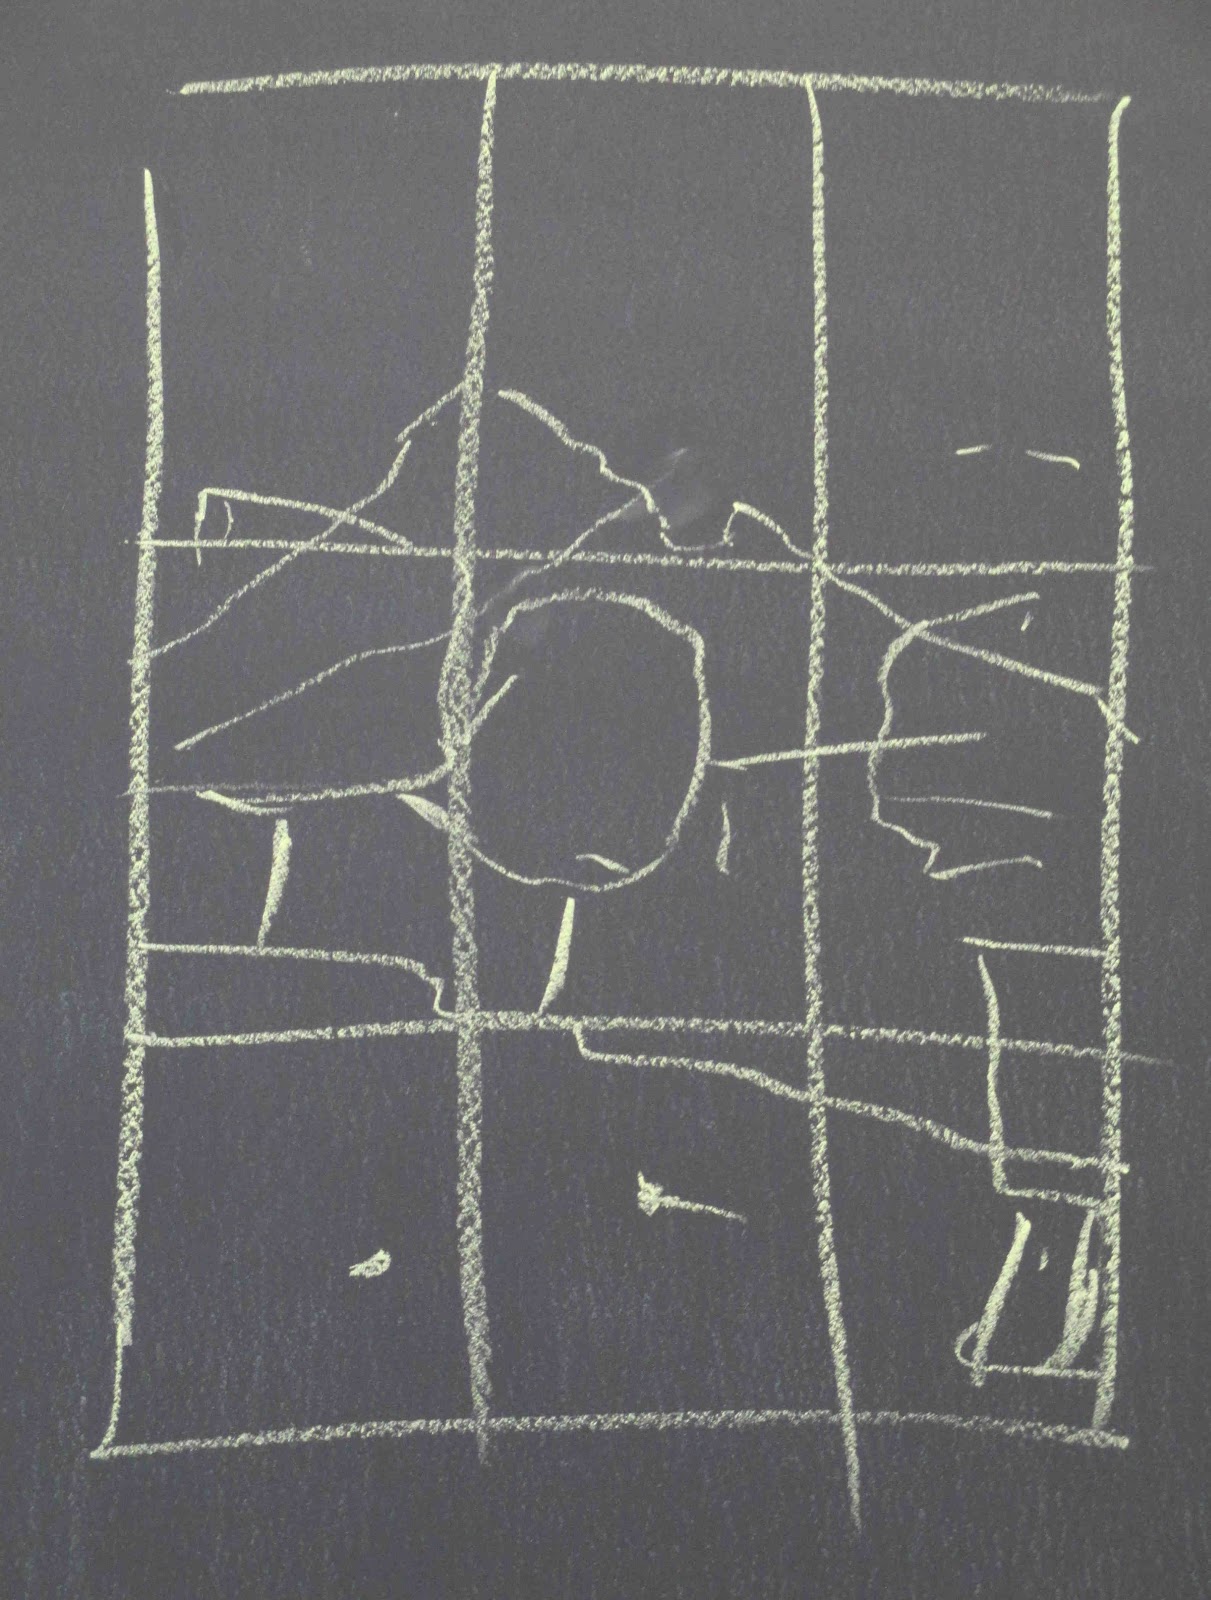
It takes a few minutes for the alcohol to dry before I could add my sketch which will be the guide for my painting. I use a light lavender pastel because it will blend in with the watercolor and the pastels that will follow.

Week 2. I had my watercolors this time so I wanted to under paint the elements I have sketched out the previous week. Keep in mind that at no point right now am if committed to what I have sketched on my paper, it can and probably will change as the painting develops.

Next I added some yellow ocher to the distant plains at the base of the mountain,then added color to the trees. I don't care that it is runny, if any of it shows it will be texture and color in the end.
I based in the trees with a green that had a bit of sienna in it and the reflections I added a bit of ultramarine blue. I wanted to keep things on the pale side because I want the finished painting to be more "high key" in the lighter end of the value scale.
Once the watercolor under painting was dry I started with the sky using a medium light blue at the top a light blue in the middle and a light lavender at the bottom of the sky and also I added some white to all of it before I blended.

The plains at the bottom of the mountain I used the same ocher. Remember when painting the mountain or anything that has a shape and textures, to follow the shapes and angles of what you see, they are not walls.
Colors here get a bit hard to describe because you never have the right one anyway, but I see gray greens not vibrant greens. This is not only the desert but also this image was taken in winter so nothing is really a vibrant color. There are a lot of sienna and orange in the trees and some of the bushy short trees along the edge of the path are almost a pink/lavender color. I blended very little in the trees leaving the chalk marks.

I got the weeds around the trees based in with an orange rust color and that is where I left off for the class. I will continue from there when we meet again.
Keep painting and I will see you in class.
No comments:
Post a Comment